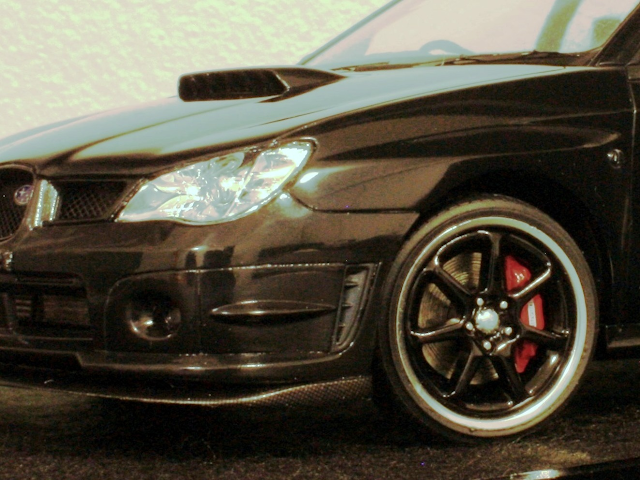
Well, I think this WIP would be the second and the last one for this model.

Big thanks to
Martini Man and
GTRfan01 !! They supported me to find the similar wheels as Andrew's. Centre parts were from "Fujimi TW67 Yokohama Model 7 Wheel & Tire Set 17 inch" and rims were from "Fujimi 18 inch Work Meister".

Temporally set to the body... Huh?? The tire is too big. Well, I can tell this is cool enough, but the real Andrew's one looks so different.

Fortunately I had a set of Aoshima's "Stretched Tires (Hippari Tire)". Yea, looking much better!!

But unfortunately the shape was terrible. Look at this right shoulder, it is so higher than the left's. It's totally the trapezoid.

So I tried to solve it from inside.

Digging so much,

Then set to the rim (plate was stripped and looks in black) with rubber band, put into the hot water then placed into the refrigerator for a day.

Now this looks like a tire, finally.

I used the
same Plate Silver (Creos) method on rims. Center was simply airbrushed in gloss black.

After Gaia Notes EX- Clear was applied,the body was sanded with #1500 grid then #2000 grid paper.

Then EX-Clear was fairly thickly airbrushed again. I can say, this process slightly melts the sanding scratches away and makes beautiful glossy coat as well. And, Gaia Note's EX-Clear is the best for me so far, as others sometimes made flakes inside my airbrush. EX-Clear never had that problem.

Then polished with compound "Soft 99" as I always do.

Then Tamiya's Coarse Compound,

Then Tamiya's Fine Compound. Well, normally the surface would show better result here, but black paint was still showing the scratches.

Then I tried Modeler's Top Compound 2000 and I was amazed. It showed almost the perfect finish!!!

But unfortunately this compound is not sold anymore... Please someone, make the same oil-based compound like this!! Now Tamiya's or Creos's are water based. I know I can't use oil-based one on Acrylic paint; it makes fog, but I prefer using it on lacquer paint. It's much quicker and easier.

Then the window trims were masked with Tamiya's Masking Tape for Curves. After taking this photo, I carefully masked all necessary area including the back of the body then airbrushed lacquer Flat Black from fair distance (20cm-30cm? Maybe) so that the Flat Black didn't come into the gap between masking tapes and the body.

Wow, the rear combination lamps looks so good, as I almost assembled them as the kit was. They were already molded in clear red or clear orange if necessary. I just adjusted the fitting of the cover sanding with #400 grid paper.

Now I couldn't stop chasing the reality.... (It means I spend money again).

But looking at this grill mesh and the emblem, I am sure it's worth it.

The meter rings and the emblem on the steering wheel as well :)

Hum?? The height balance looked no good. It was too high.

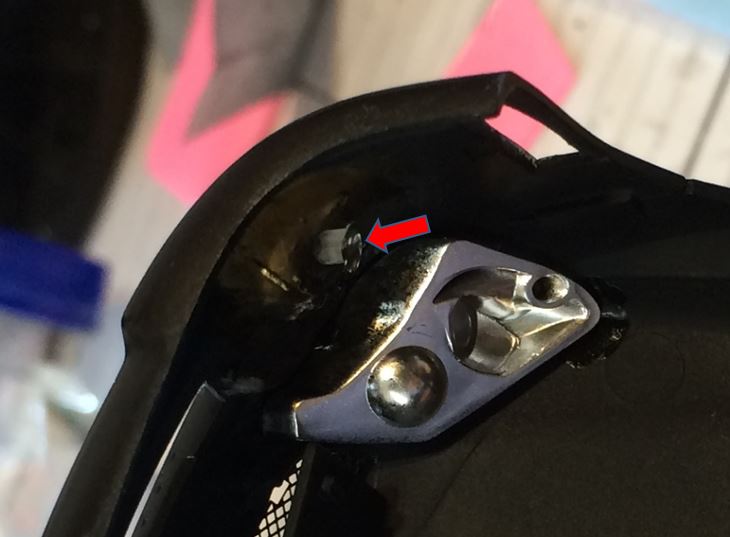
So I made this mod so that I can make it lower. By doing this, I could create the mobility (up & down) so even if the base was not flat, all the tires would touch to the ground. But don't make the lower pin too long (on 3, the white rod), because it'd hit the inside of the wheel rim.

Now my (Andrew's) WRX looks better.

Tiny tiny (smaller than rice grain!!) cover part was made from 0.2mm clear plastic sheet. I used the punch to cut the small circle, then sanded to a ellipsoidal shape. I used enamel clear (Tamiya paint) as the glue to set this tiny part safely.

I set the aluminum foil on the back of the lump. So I can enjoy the good reflection, I like these kinds of detailing.

Another detail-up. Damaging on the brake disk. I set the disk on rotor (using the base of Sujiborido's Polishing Sponge), after cutting the caliper off. Then rotate, made damages with sharp knife edge. BTW, don't worry about the lures, hooks or sinkers you can see on the background.

I can tell the left; damaged and sanded with #1000 grid paper, looks much better and more real than the right; original part. But I can also tell the damaging was a little bit too deep and wide. I would say it'd better to use maybe #240 grid paper for damaging instead of using knife.

Disks were airbrushed in Plate Silver (Creos) after enamel black applied (same method as the wheel rims). Then weathered to express the fairly rusty look.

The calipers were painted in red and reset. "Subaru" decals were from the box.

Wooow, I like this look!!

Another brain freeze. The beautifully created chin spoiler didn't fit properly, because the bumper on the body was not horizontal but going upward to the front edge. If the chin spoiler was set along the bumper, it went so upward.

So I thinned up the chin spoiler vertically from the inside so that I could set it onto the bumper from outside.

Mann, Andrew had the carbon look sticker
after I started this project. ...Okay, I had Hasegawa's Carbon Finish Sheet on my shelve.
The spoiler was glued with G-Clear bond using Post-it to keep it horizontal.

Well, Fujimi had done a good job on the chassis, too. The exhaust pipe was weathered using Tamiya's Weathering Master Burned Red. And small nuts were installed on back of the chassis to set this to the base.

Badges from photo etched parts were glued using clear bond.

Now it was the time to make base. I bought the self-adhesive felt at Riot! Art & Craft. The flames were the Evergreen's StripStyrene 2.0mm x 4.00mm, painted in gloss black. Holes were made to insert the bolts to set the model after taking this photo.

Final cleaning was taken place finally!!! (Oh I set the door mirrors after this photo)
Well, this was the first experience to make someone's car and I enjoyed so much sharing my pleasure (not a pressure) with my friend. The more I proceed, the more I felt like I wanna share those happy moments. And, making some particular mods I have never tried before, I am sure I had my skills lift up.
Now I am preparing the photos for gallery.
See you soon.....!